
Because of the intricacy of hearing aids, it is important to have them cleaned as often as possible. Often times, the delicate parts of hearing aids trap debris like earwax. It is important to get rid of this debris because they may destroy the screens in the hearing aids which are supposed to be protectors. Usually, hearing aids begin to malfunction when the debris is continually piled up. Once cleaned, the hearing aids will begin to function normally. Cleaning can be done in the home daily but professional hearing aid repair service must be consulted every four months to ensure cleanliness. But older models of hearing aids may require some form of repair once clogged.
Option 1:
Start cleaning the hearing aid from the exterior. You can use the cleaning tools that come with the pack. But if you have misplaced them, a small sewing needle and toothbrush can suffice. This pair will be able to penetrate the exterior of the hearing aid as much as the cleaning tool.
Then, you want to clean the part of the hearing aid that fits into the ear. Look for the small openings where sound is generated. Carefully move the toothbrush over the openings. During the process of cleaning, hold the openings downwards so that debris may fall onto the floor as you clean.
Next, turn the device over and start to brush gently and allow debris to fall on the floor. Locate the part that goes inside the ear and pick the debris with the sewing needle. Do not push down on the receiver that rests inside the hole of the receiver. Ensure to limit your depth as you clean. Turning the receiver downwards, keep brushing.
Option 2
Replace old batteries. If the sound is not coming out, then the aid is bad. It takes about an average of one or two weeks for new batteries to require a change.
Option 3
Pour some alcohol into a bowl. Then dip the small sewing needle into it. Insert the needle into each hole in the receiver. Apart from restoring the receiver in the unit, what the alcohol does is to dissolve the wax found in the unit.
Option 4
This is the step where you take your unit for professional cleaning. Even though it doesn’t cost a lot of money to do this, you may have to book an appointment first. As long as your hearing aid brand matches theirs, any hearing aid repair service provider can help.
Option 5
Take your aid to a local clinic and have it checked. Devices with warranty attract no cost of repair but repairing it by yourself will tamper with the warranty tag and you will pay more to have it repaired.
Option 6
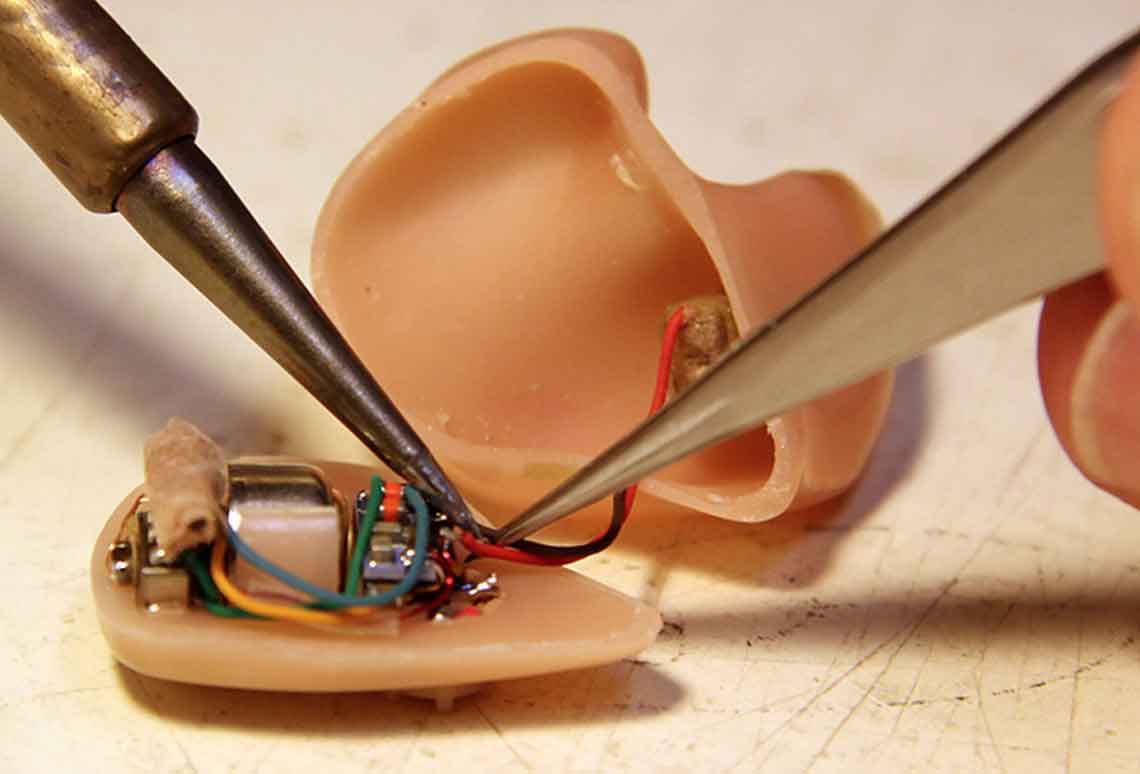
You can replace the microphone and receiver. This is the job of a professional hearing aid repair service. Many manufacturers offer mail-in services on the internet, this can come in handy for self-repair. Each hearing aid may cost between $100 and above depending on the unit. Every hearing aid comes with about one year warranty for any damage within the year.


